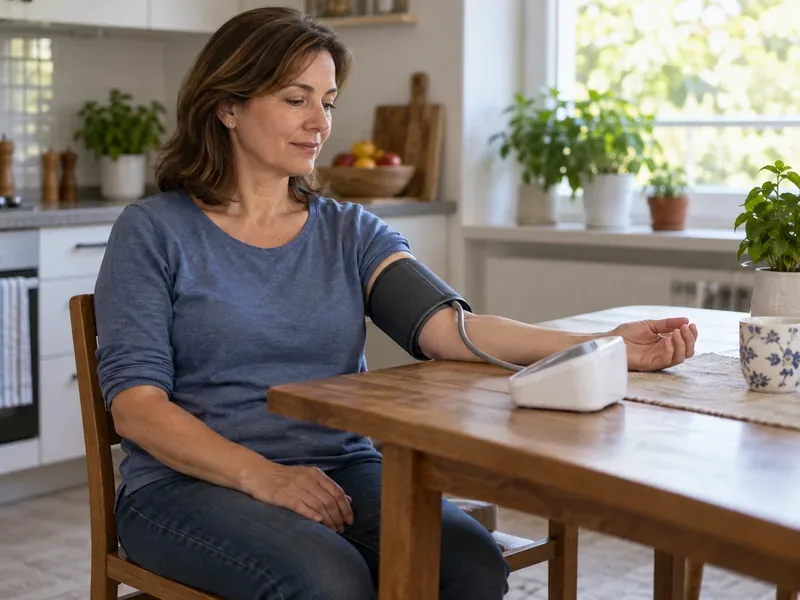
If your home blood pressure cuff feels too tight, will not close, or slips around your arm, check its fit before relying on the readings. Measuring your upper-arm circumference helps you compare your arm with the range printed on the cuff or in the monitor’s instructions. This guide is for adults using an upper-arm home monitor; the result is a fit check, not a diagnosis. If your arm is outside the cuff’s stated range, ask your care team or pharmacist which cuff and device are appropriate.
Prerequisites
- Supplies: A flexible, nonstretch tape measure; your monitor’s cuff and sizing instructions; paper or a phone to record the measurement.
- Time: About 5 minutes, depending on whether you need help positioning the tape.
- Difficulty: Easy. A helper can make the measurement easier, but is not required.
Step 1: Find the cuff’s stated arm range
Look on the cuff, monitor packaging, or manufacturer’s instructions for a size range in inches or centimeters. Some cuffs have a printed index line or range markings. Use the range for your exact cuff model: labels such as “large” are not standardized across brands. The American Heart Association advises measuring the upper arm and choosing a monitor with a cuff sized for that measurement. See its home blood pressure monitoring guidance.
Step 2: Locate the midpoint of your upper arm
Bare the arm you plan to use. Find the bony tip at the top of your shoulder and the point of your elbow. The midpoint is halfway between them along the upper arm. A helper can identify the points and mark the midpoint lightly if that helps. Measuring around this midpoint is the method described by the AHA for finding arm circumference.
Step 3: Wrap the tape around the arm
Let your arm rest naturally, slightly bent and relaxed. Wrap the tape around the midpoint so it lies flat and level all the way around. Keep it snug against the skin without squeezing or indenting it. Do not measure over clothing, and do not use a stretchy tape that may pull longer under tension.
Step 4: Read and record the circumference
Where the tape meets, read the number in the same unit used by the cuff range. If your tape shows both inches and centimeters, write down both to avoid a conversion error. For example, if the tape reads 13 inches (about 33 cm), compare that result with the cuff’s own printed range. If the tape falls between marks, record the nearest small increment and repeat once to check your placement.
Step 5: Compare the number with the cuff and check the wrap
Your recorded circumference should fall within the range specified for that cuff. When wrapping the cuff, follow its placement diagram and alignment marks, place it on bare skin, and position its lower edge as the instructions direct. A cuff that closes is not automatically the correct size; check the range marking. If your measurement is at a boundary, outside the range, or the cuff’s indicator does not confirm a fit, ask the manufacturer or a clinician about a suitable cuff. Do not assume that another brand’s cuff will work with your monitor.
Correct sizing matters: the AHA scientific statement explains that a cuff that is too small can produce an artificially high reading, while one that is too large can produce an artificially low reading. The statement’s general clinical cuff categories are not a substitute for your home monitor’s model-specific sizing instructions. Take your monitor to a healthcare appointment and ask the clinician to check the cuff and demonstrate placement.
Troubleshooting
- The tape keeps sliding or tilting. Relax your arm and keep it supported, then position the tape horizontally around the midpoint. Ask someone to help hold the tape level if needed. Repeat the measurement rather than tightening the tape to keep it in place.
- Your measurement is just outside the printed range. Recheck the midpoint and tape tension, then measure again. If the result remains outside the range, contact your care team or the monitor maker for a compatible cuff and device recommendation. Do not use repeated readings from a cuff that the manufacturer says does not fit as a substitute.
- The cuff fits the circumference but still pinches, slips, or will not align. Follow the cuff’s placement illustration and check that it is on bare skin without a rolled sleeve constricting the arm. Arm shape can affect fit; tell your clinician if a standard cuff will not sit securely, even when the circumference falls within range.
Frequently asked questions
Where exactly should I measure my upper arm?
Measure around the midpoint between the bony tip of your shoulder and the point of your elbow. Keep your arm relaxed and the tape level against bare skin.
Can I use a cuff that is close to my arm measurement?
Use the cuff only if your measurement is within the range stated for that exact cuff. A near match outside the range is not a confirmed fit. Ask your clinician or the manufacturer what to use.
What if my arm is too large for the cuff that came with my monitor?
Ask your care team or the manufacturer whether a compatible cuff with a wider stated range is available. Bring the monitor and cuff to an appointment so the clinician can check fit and technique. Do not change medication based on a single home reading; seek urgent help for a blood pressure above 180/120 mm Hg with symptoms such as chest pain, shortness of breath, weakness, vision changes, or difficulty speaking. The AHA advises calling 911 for those symptoms.
Sources: American Heart Association: Home Blood Pressure Monitoring; AHA Scientific Statement: Measurement of Blood Pressure in Humans; American Heart Association: Popular home blood pressure cuffs may not fit millions of adults.